

It's the annual carnival time again when all kinds of weird costumes are back on the streets, cobwebs are scattered on the outer walls of the houses, and it is no surprise that it is the season of soaring pumpkin prices.
Jack lanterns have been a fall tradition for a long, long time! Especially popular with children. Jack lanterns originated in Irish mythology and were once carved from turnips. The tradition of post-production pumpkin lanterns dates back to the 19th century when root vegetables such as radishes and pumpkins were hollowed out and transformed into lanterns to ward off evil spirits. Carved pumpkin varieties take place on October 31st each year as Halloween festivities continue to be popular in Australia.
There are so many ways to carve a pumpkin! Here are some tips for carving the perfect jack-o-lantern this fall, and after you've picked out your beautiful pumpkins, you're ready to go! If you choose to color your pumpkins, they may last longer, and any size pumpkin will do!
- First, what's needed to make a Halloween jack-o-lantern:
1. Sharp Serrated Knives and Paring Knives
2. Melon ball machine or spoon
3. chalk
4. battery-powered tea candle
5. one large carved pumpkin
But before carving, here's what you need to do: choose your pumpkin wisely.
A good jack-o-lantern starts with picking high-quality fresh pumpkins. Choose a sturdy green stem, which indicates that it was picked recently and that the pulp is firm enough to withstand some intricate carving. Also, avoid mushy spots, bugs, or bruises on the pumpkin.
Of course, in addition to the appearance of the pumpkin, the pumpkin variety used for the jack-o-lantern is also significant. Carved pumpkins are different from regular butternut or Kent pumpkins. The ideal pumpkin appearance for making jack-o-lanterns is bright orange with thin skin. This makes it easier to cut in. The interior of the squash will contain fewer seeds than other varieties, and the pulp itself will be sticky rather than dense.
Of course, if you don't grow pumpkins at home, you can buy carved pumpkins at the supermarket. The Seed Collection sells wide heirloom pumpkin varieties suitable for jack-o-lantern carving, including Jack-o-lantern (Cucurbita maxima), Big Max (Cucurbita maxima), and Spooky (Cucurbita pepo).
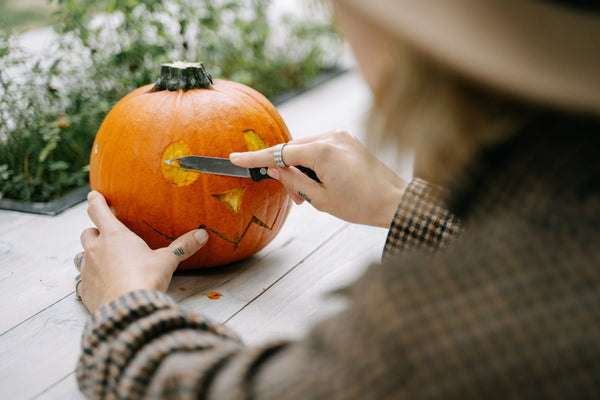
- How to Carve a Jack-o-lantern Pumpkin?
- Cut around the stem, and insert the knife at an angle to create a removable lid. Make sure the hole is big enough to allow you to reach the inside of the pumpkin.
- Using a melon cutter or spoon, remove the seeds and pulp from the walls of the pumpkin.
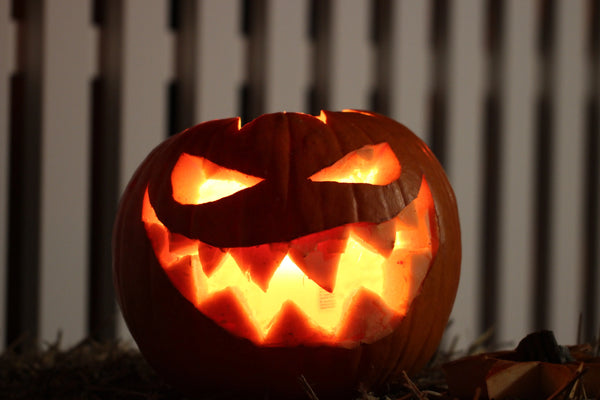
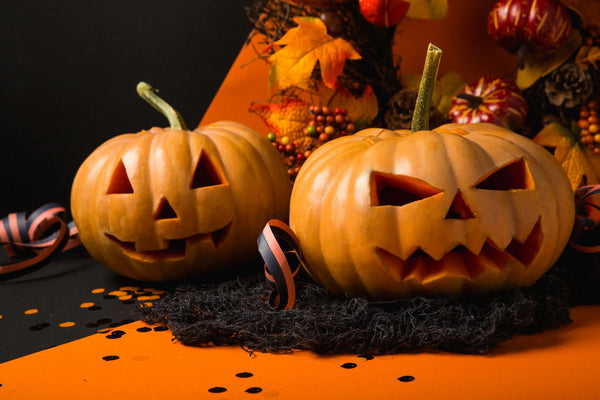
- Create a unique look for your pumpkin. The classic jack-o-lantern has a big, fangs smile and triangular eyes and nose.
- Rotate the pumpkin until you find its "face" - the surface that looks most like a head. Then use chalk to draw the features directly onto the pumpkin skin.
- Use a paring knife to cut out small features and a serrated knife to cut out the mouth, being careful to avoid cutting off any floating features such as the teeth or the center of the eyes.
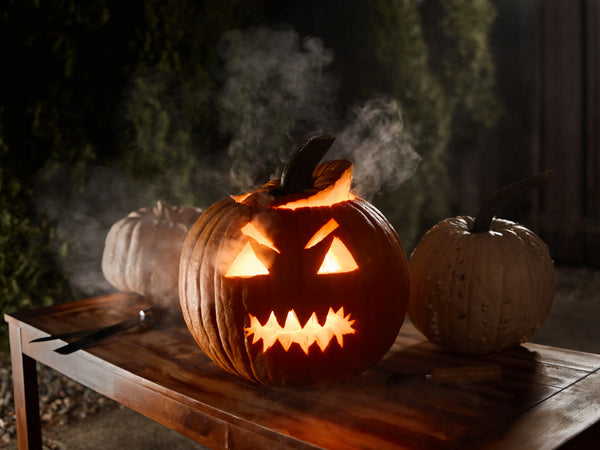
When you're done carving, wipe off any visible chalk or flesh from the outside. Put the lantern in the designated spot and put some small battery-powered candles inside.
In summary, the most important points for carving pumpkins:
For carving, larger pumpkins are better.
Try to avoid pumpkins that have any mold or bruises. (they will go bad faster)
If your pumpkin gets dirty in the field, it can be cleaned with warm soapy water.
You usually start carving a pumpkin by cutting off the top to create the lid. It is necessary to cut at a 45-degree angle so that the cover has a place to rest after replacement. Prevent direct cutting and falling.
Lighting tips: Cyan lights are the perfect size to illuminate the inside of a pumpkin, but any battery-powered light will work. If you choose to use candles for the job, you can sprinkle nutmeg or cinnamon powder on the inside of the pumpkin wall and it will give off a wonderful fall aroma when heated with candles!
- After that, someone asked again. How to store pumpkin creations longer?
First of all, no matter what you hear, you should never freeze your squash. If you do, it will be soft and mushy. Instead, leave it in a cool place until the day you're ready to decorate it.
But if you want to know how to make your jack-o-lantern last until Halloween, then you shouldn't be carving it too early. The closer to Halloween, the better your carving will look. This will make all your Halloween decoration projects look more lively.
Be careful not to place the pumpkin in rain or direct sunlight. I recommend bringing them in at night, especially if you live in an area with wildlife. Otherwise, your fine art might turn into a late-night snack.
save it:
If you search online, you will find many ways to preserve pumpkins, and I have tried them all. However, of all the methods I've tried, the best is to take a bleach bath.
I just fill a 5-gallon bucket halfway with water and add 3-4 TBSP of bleach. Then, soak the carved pumpkin for an hour or so. Doing so will kill the bacteria that naturally cause the pumpkin to rot.
If you want to go a step further, coat the bare flesh of the carved pumpkin with a coat of petroleum jelly. This will help isolate the area from decaying elements.
If you notice your squash is starting to look a little shriveled, bring it back. Soak in a bleach bath for a few hours. This will help rehydrate and pull it back to encourage bacterial growth.
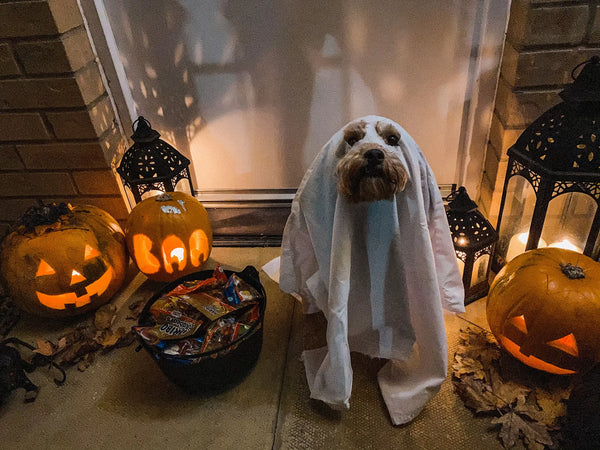
One last tip, don't forget to add some great Halloween treats to your decor.
Happy Halloween!